Slovenia, a small yet charming European nation, blends Slavic, German, and Italian influences, offering a unique cultural identity. Nestled between the Alps and the Adriatic, it boasts stunning landscapes, rich history, and vibrant traditions, making it a captivating destination for travelers.
1.1 Overview of Slovenia’s Geography and Climate
Slovenia, a compact country in Central and Southeastern Europe, spans approximately 20,273 square kilometers. It borders Italy, Austria, Hungary, Croatia, and the Adriatic Sea. The landscape is diverse, featuring the Julian Alps in the northwest, dense forests, and a short but picturesque coastline. The climate varies: Alpine in the mountains with cold winters and mild summers, Mediterranean along the coast with warm summers and mild winters, and continental in the central and eastern regions with hot summers and cold winters. This geographical diversity creates a unique environment, supporting rich biodiversity and offering stunning natural beauty for visitors to explore.
1.2 A Brief History of Slovenia
Slovenia’s history is a rich tapestry of cultural and political influences. Once part of the Roman Empire, it later fell under the Habsburgs, who ruled for nearly 500 years. The 19th century saw a rise in Slovenian nationalism, culminating in the establishment of Yugoslavia in 1918. During World War II, Slovenia was occupied by Axis powers, leading to significant resistance movements. Post-war, it remained part of Yugoslavia until declaring independence in 1991, sparking a brief conflict. Slovenia transitioned smoothly to democracy, joining the EU and NATO in 2004. Its history reflects a blend of Slavic, Germanic, and Mediterranean influences, creating a unique cultural identity that attracts visitors and scholars alike.
1.3 Cultural Diversity in Slovenia
Slovenia’s cultural diversity is a vibrant blend of Slavic, German, and Italian influences, creating a unique identity. The country’s strategic location at the crossroads of Europe has fostered a rich tapestry of traditions, languages, and customs. Slovenian culture is characterized by its warm hospitality, love for folklore, and deep connection to nature. Festivals celebrating local traditions, such as the Ljubljana Festival and the Ptuj Carnival, showcase vibrant music, dance, and art. The Slovenian people take pride in their regional diversity, with distinct dialects and customs varying from the Alpine north to the Mediterranean coast. This cultural richness makes Slovenia a fascinating destination for exploring Europe’s lesser-known heritage.
Top Destinations in Slovenia
Slovenia’s diverse attractions offer a mix of urban charm, natural beauty, and cultural heritage. Explore Ljubljana’s historic center, the serene Lake Bled, and the stunning Julian Alps. Discover the picturesque Slovenian coast, vibrant cities, and hidden gems that blend seamlessly into a unique travel experience.
2.1 Ljubljana: The Capital City
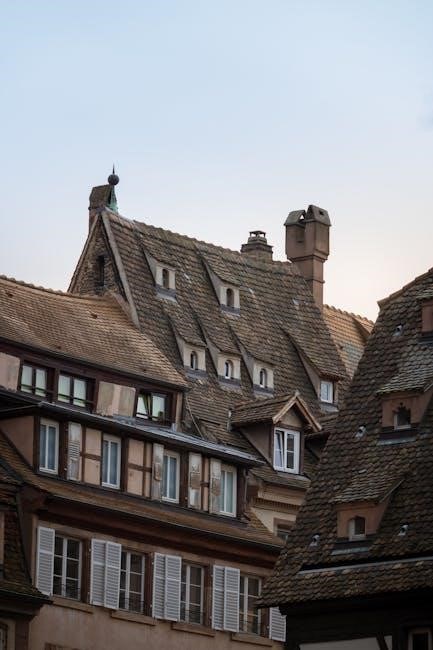
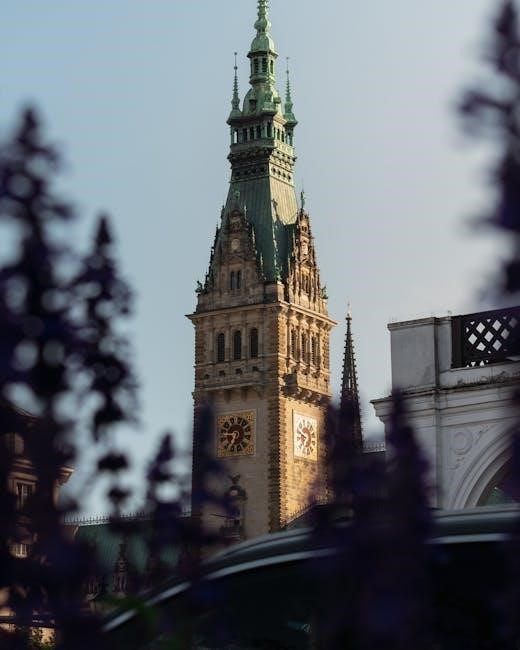
Ljubljana, Slovenia’s charming capital, captivates visitors with its medieval Old Town, picturesque riverside promenade, and vibrant atmosphere. The Ljubljanica River flows gently through the city, lined with cafes and boutique shops. Iconic landmarks like the Three Bridges and Ljubljana Castle offer stunning views and a glimpse into the city’s rich history. The city’s blend of Baroque, Art Nouveau, and modern architecture creates a unique visual identity. Ljubljana is also a green city, with Tivoli Park and the Botanical Garden providing peaceful escapes. Its lively markets, cultural festivals, and world-class museums make it a must-visit destination for travelers exploring Slovenia.
2.2 Lake Bled: A Fairy-Tale Destination
Lake Bled, nestled in the Julian Alps, is a breathtaking destination that resembles a fairy tale. Its crystal-clear emerald waters surround a charming island, home to the iconic Church of the Assumption. Visitors can explore the island by rowing a traditional wooden boat or take a leisurely stroll around the lake’s 6 km walking trail. The surrounding mountains and lush forests create a serene atmosphere, perfect for relaxation. Bled Castle, perched on a cliff, offers panoramic views and insights into Slovenia’s history. The lake is also famous for its cream cake, a must-try local delicacy. Whether hiking, cycling, or simply soaking in the natural beauty, Lake Bled captivates every traveler with its enchanting charm.
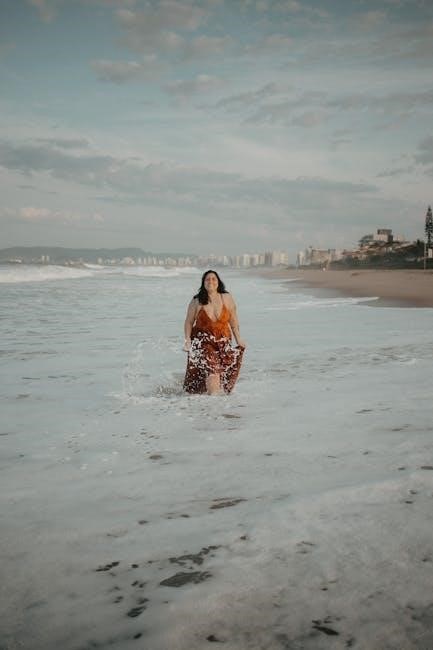
2.3 The Slovenian Coast: Piran and Portorož
Slovenia’s coastline, though small, is a gem along the Adriatic Sea. Piran, a charming medieval town, boasts narrow cobblestone streets, colorful Venetian-style houses, and a picturesque harbor. Its rich history is reflected in landmarks like the St. George’s Cathedral. Nearby, Portorož is a vibrant coastal resort town known for its beaches, casinos, and lively atmosphere. The area offers a mix of relaxation and cultural experiences, with opportunities to enjoy water sports, cycling along the coast, or exploring the nearby Sečovlje Salina Nature Park. Fresh seafood and local wines are highlights of the region’s cuisine. The Slovenian coast is a perfect blend of history, nature, and modern leisure, making it a must-visit destination.
2.4 The Julian Alps: A Hiker’s Paradise

The Julian Alps, located in northwestern Slovenia, are a hiker’s paradise offering stunning mountain vistas and diverse trails. As part of the Southern Limestone Alps, the range features rugged peaks, alpine lakes, and lush forests. The highest peak, Mount Triglav, stands at 2,864 meters and is a national symbol. The Julian Alps Trail, a 300-kilometer-long route, is a popular choice for hikers, offering breathtaking views of the surrounding landscape. The trails cater to all skill levels, from easy walks to challenging climbs. The region is also a UNESCO Biosphere Reserve, highlighting its pristine natural beauty. Hikers can explore hidden valleys, enjoy picnics by mountain streams, or visit traditional alpine huts for local cuisine. The Julian Alps provide an unforgettable outdoor experience, blending nature and adventure in a unique setting.

Outdoor Activities in Slovenia
Slovenia offers diverse outdoor activities, from hiking and cycling to water sports, with its stunning landscapes providing endless opportunities for nature lovers and adventure seekers alike.
3.1 Hiking Trails in the Julian Alps
The Julian Alps offer some of Slovenia’s most spectacular hiking trails, with routes for both experienced hikers and casual explorers. The Juliana Trail, a 270 km path, is a popular choice, winding through alpine meadows, forests, and rugged peaks. Hikers can enjoy breathtaking views of Lake Bled, the Soča River, and Mount Triglav, Slovenia’s highest peak. Trails are well-marked, and hikers can choose from day trips or multi-day treks. Summer and early autumn are ideal for hiking, with wildflowers blooming in July and cooler temperatures in September. Local guides and maps are readily available, making it easy to plan an unforgettable adventure in this stunning mountain range.
3.2 Cycling Routes Across Slovenia
Slovenia boasts an extensive network of cycling routes that cater to all skill levels, from leisurely rides to challenging mountain trails. The Parenzana Trail, a former railway line, is a popular route that stretches from Trieste to Poreč, offering stunning coastal and inland views. For mountain enthusiasts, the Soča Valley Trail provides breathtaking alpine scenery, while the Slovenian Istria region features rolling hills and charming villages. Long-distance routes like the EuroVelo 9 and the Slovenian Mountain Trail connect major attractions across the country. With well-marked paths, bike rental options, and organized cycling tours, Slovenia is a cyclist’s paradise. Spring and autumn are ideal seasons for cycling, with mild weather and vibrant landscapes enhancing the experience.
3.3 Water Sports on the Adriatic Coast
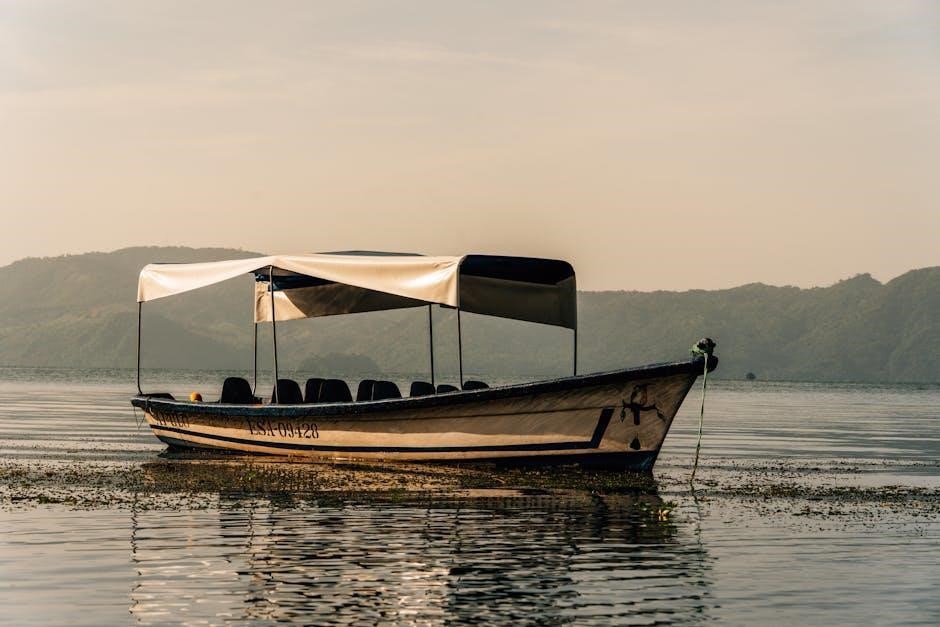
Slovenia’s Adriatic Coast, though small, offers a variety of water sports for enthusiasts. Portorož and Piran are hubs for activities like sailing, kayaking, and paddleboarding. The calm waters of the Gulf of Piran make it an ideal spot for snorkeling and diving to explore underwater caves and shipwrecks. Jet-skiing and parasailing are popular for adrenaline seekers, while families can enjoy boat tours or relax on beaches. Many water sports centers provide equipment rentals and lessons, catering to both beginners and experienced adventurers. The coastal towns also host regattas and events, adding vibrancy to the maritime scene. With its clear waters and scenic backdrop, Slovenia’s Adriatic Coast is a perfect destination for water sports enthusiasts.
Slovenian Cuisine
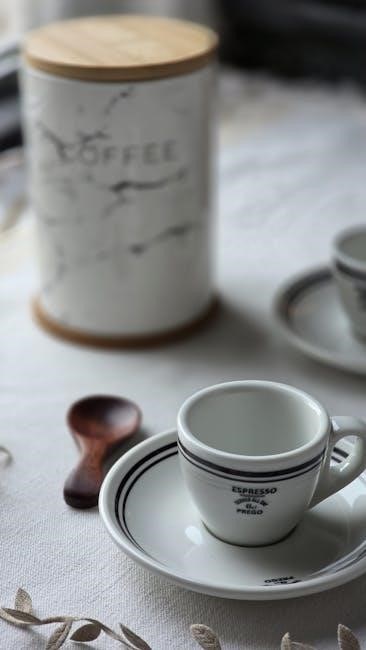
Slovenian cuisine blends Mediterranean, Alpine, and Pannonian flavors, featuring hearty dishes like goulash, dumplings, and fresh seafood. Local ingredients and wines create a rich, diverse gastronomic experience.
4.1 Traditional Slovenian Dishes
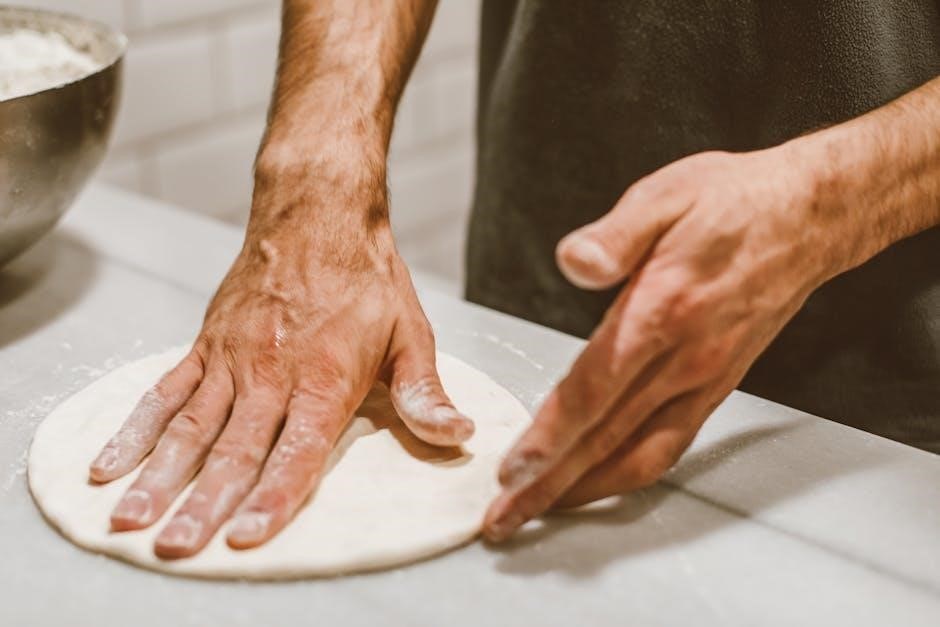
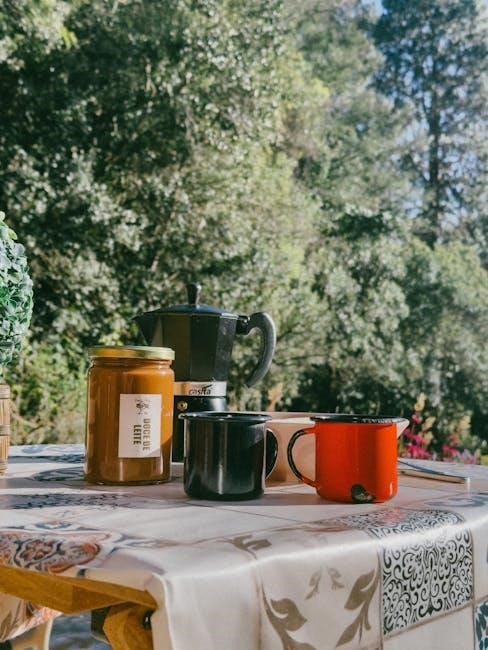
Slovenian cuisine offers a rich variety of traditional dishes, deeply rooted in its cultural heritage. One of the most iconic dishes is goulash, a hearty meat stew with paprika, potatoes, and bread. Another favorite is Carniolan sausage, a cured meat delicacy served with mustard and potatoes. The region of Idrija is famous for Idrija žlikrofi, ravioli-like dumplings filled with potatoes, onions, and bacon. For dessert, potica stands out as a traditional nut roll, often enjoyed during holidays. These dishes reflect the blending of Mediterranean, Alpine, and Pannonian influences, showcasing Slovenia’s diverse culinary identity. Each dish is crafted with local ingredients, offering a taste of Slovenia’s authentic heritage.
4.2 Slovenian Wine Regions
Slovenia boasts three distinct wine regions, each offering unique flavors and terroirs. The Primorska region along the Adriatic coast is renowned for its white wines, such as Rebula and Pinot Grigio, often described as crisp and mineral-forward. The Podravje region in northeastern Slovenia is famous for its aromatic white wines, particularly from the Jeruzalem area, known for their floral and fruity notes. The Posavje region produces robust red wines, including Žametna Črnina and Cviček, a unique, lightly sparkling red wine. Slovenia’s wine culture is deeply rooted in tradition, with winemakers blending centuries-old techniques with modern innovations. Each region’s distinct climate and soil contribute to the diversity of Slovenian wines, making them a must-try for any wine enthusiast.
4.3 Dining Etiquette in Slovenia
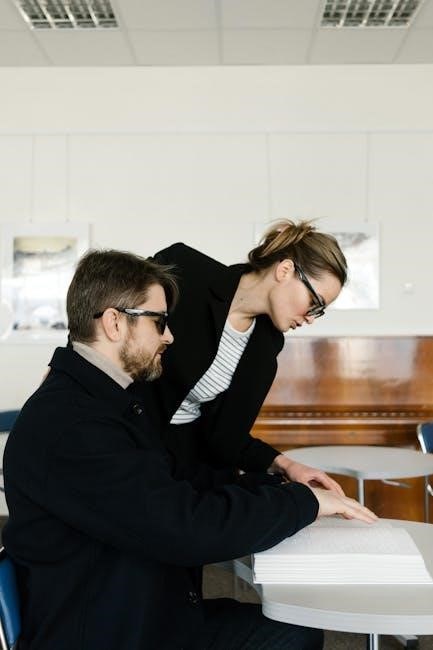
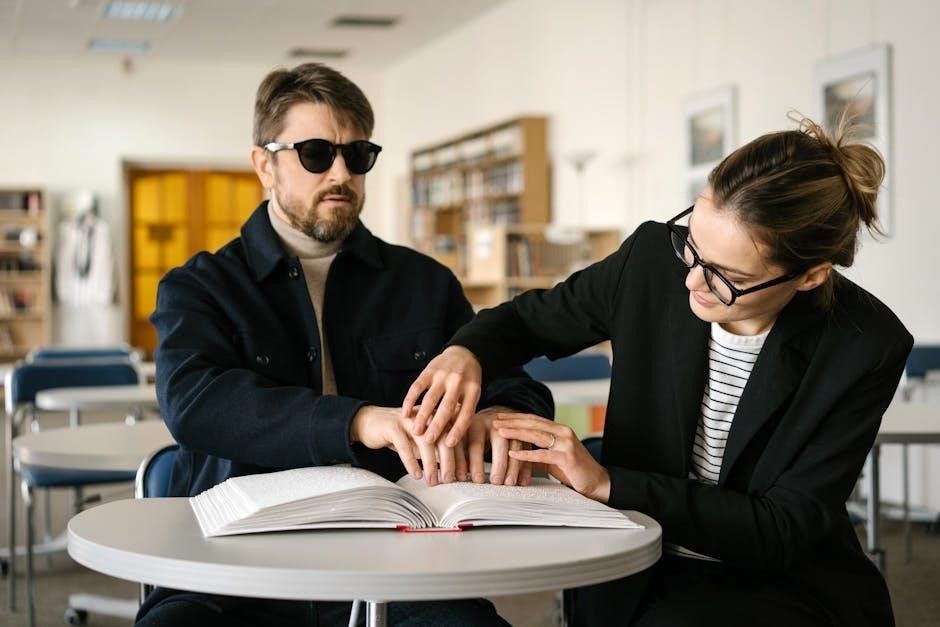
Dining etiquette in Slovenia reflects a blend of Central European and Mediterranean traditions. Punctuality is highly valued, so arrive on time for meals. When greeting, a handshake or a friendly hello is customary. At the table, keep your hands visible and avoid resting your elbows. It’s polite to wait for the host to invite you to sit before taking your place. Table manners are formal, with an emphasis on using utensils correctly. Engage in conversation but avoid loud talking. When offered food or wine, a gracious acceptance is appreciated. If dining at a local’s home, bringing a small gift, such as wine or flowers, is a thoughtful gesture. The host typically pays the bill, but in restaurants, it’s customary to tip around 10%. Respect for tradition and hospitality is key to a pleasant dining experience in Slovenia.
Travel Tips for Slovenia
Slovenia offers diverse landscapes, from mountains to coast. Eco-friendly, safe, and welcoming, it’s perfect for outdoor enthusiasts and culture lovers. Plan your trip with ease.
5.1 Best Time to Visit Slovenia
The best time to visit Slovenia depends on your preferences. Spring (May-June) offers mild weather, blooming nature, and fewer crowds, ideal for hiking. Summer (July-August) is peak season, with warm temperatures perfect for exploring the Adriatic coast and outdoor activities. Autumn (September-October) brings vibrant foliage and harvest festivals, while winter (December-February) is great for skiing in the Julian Alps. Temperatures vary significantly between seasons, so pack accordingly. Visit in spring or autumn for a balanced experience of culture and nature without the peak-season rush. Plan your trip based on your interests and the activities you wish to enjoy.
5.2 Transportation Options in Slovenia
Slovenia offers a variety of transportation options for travelers. Buses are the most extensive and affordable way to explore the country, with frequent routes connecting major cities and towns. Trains are another convenient option, particularly for scenic routes like the one between Ljubljana and Lake Bled. Renting a car provides flexibility, especially for visiting remote areas, though parking in cities can be challenging. Cycling is popular, with many bike-friendly paths, especially in Ljubljana. Taxis and ride-hailing apps are available but can be pricey. For tourists, the Slovenia Tourist Card often includes public transport and attraction discounts. Plan your transport based on your itinerary and preferences for a smooth journey.
5.3 Accommodation Choices: From Budget to Luxury
Slovenia offers a wide range of accommodation options to suit every budget and preference. Budget travelers can opt for hostels, guesthouses, or camping sites, which provide affordable and cozy stays. Mid-range options include boutique hotels and family-run pensions, offering comfort and local charm. For luxury seekers, Slovenia boasts high-end hotels, boutique resorts, and exclusive villas, often equipped with spas and fine dining. Eco-lodges and wellness retreats are perfect for nature lovers and those seeking relaxation. Coastal towns like Piran and Portorož feature historic hotels with Adriatic views, while mountain areas offer rustic chalets. Booking in advance is recommended, especially during peak seasons. Whether you prefer urban convenience or rural tranquility, Slovenia’s diverse accommodations cater to all tastes and budgets.
5.4 Budgeting Tips for Traveling in Slovenia
Traveling in Slovenia can be affordable with thoughtful budgeting. Consider staying in budget-friendly accommodations like hostels or guesthouses, which often include breakfast. Dining at local eateries or trying traditional dishes at markets can save euros. Public transportation is cost-effective, with affordable bus and train options. Renting a bike instead of a car in cities like Ljubljana can reduce expenses. Take advantage of free attractions, such as exploring old towns or hiking in nature parks. Shopping at local markets for snacks and souvenirs is budget-friendly. Allocate €40-€60 per day for basic expenses, including meals and entry fees. Using cash instead of cards for small purchases can avoid extra fees. Lastly, consider purchasing a Slovenia Tourist Card for discounts on attractions and transport.
Hidden Gems of Slovenia
Discover Slovenia’s hidden gems, such as the stunning Soča Valley, serene Logar Valley, and the Kamnik Alps. Explore the charming town of Ptuj and the magical Postojna Cave Park.
6.1 Off-the-Beaten-Path Towns
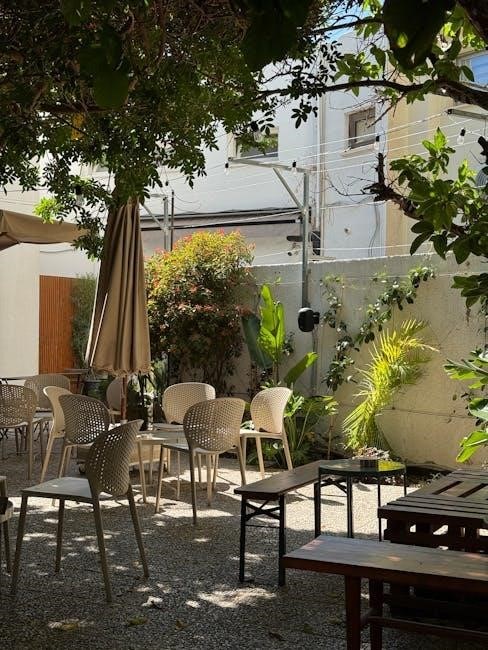
Discover Slovenia’s lesser-known towns, where charm and authenticity await. Ptuj, the oldest town in Slovenia, boasts medieval architecture and the vibrant Kurent carnival. Kobarid, nestled in the Soča Valley, offers stunning river views and historical sites like the Kozjak Waterfall. Idrija, a UNESCO World Heritage Site, is famous for its mercury mining history and the imposing Gewerkenegg Castle. These towns provide a tranquil escape from bustling tourist spots, offering a glimpse into Slovenia’s rich history and natural beauty; Visitors can enjoy local cuisine, explore quaint streets, and experience the warm hospitality of these hidden gems.
6.2 Lesser-Known Natural Attractions
Slovenia’s natural beauty extends beyond its famous landmarks, offering hidden gems for curious explorers. The Peričnik Waterfall in Triglav National Park is a stunning yet lesser-visited cascade, where visitors can walk behind its misty veil. The Soča River White Trail near Bovec offers a serene, emerald-green path perfect for hiking. Another hidden treasure is Lake Bohinj, a tranquil alternative to Lake Bled, surrounded by lush forests and mountains. For adventure seekers, the Tolmin Gorges in the Soča Valley provide crystal-clear waters and dramatic cliffs, ideal for swimming and photography. These natural wonders showcase Slovenia’s diverse landscapes, offering peaceful escapes from the crowds.
6.3 Local Festivals and Events
Slovenia’s vibrant cultural calendar is filled with unique festivals and events that showcase its rich heritage. The Ljubljana Festival, held annually in summer, features classical music, theater, and dance performances. In June, the Maribor Lent Festival transforms the historic streets of Maribor into a lively stage for music, dance, and street food. The Piran Salt-Making Festival celebrates the tradition of salt production, offering a glimpse into the region’s history. Wine enthusiasts can enjoy the Nova Gorica Wine Festival, which highlights Slovenian wines paired with local cuisine. Additionally, winter brings the Lake Bled Ice Sculpture Festival and festive markets in towns like Kranjska Gora. These events offer a authentic taste of Slovenia’s culture and traditions.

Practical Information
Essential details for travelers, including currency (Euro), tipping customs, and practical advice for navigating Slovenia’s transportation, accommodation, and public services efficiently during your visit.
7.1 Safety Tips for Travelers
Slovenia is generally a very safe country, but it’s always wise to take precautions. Be mindful of pickpocketing in crowded areas like bus stations or tourist hotspots. Keep valuables secure, especially in larger cities. Avoid walking alone in poorly lit or isolated areas at night. When exploring nature, stick to marked trails and follow local guidelines to avoid accidents. In case of emergencies, dial 112 for police, fire, or medical services. Additionally, respect Slovenia’s natural environment by not littering or damaging protected areas. Stay informed about weather conditions, especially in mountainous regions, and plan your activities accordingly. By being aware of your surroundings, you can ensure a safe and enjoyable trip to Slovenia.

7.2 Language Basics: Slovenian Phrases
Learning a few basic Slovenian phrases can enhance your travel experience. Slovenians appreciate visitors making an effort to speak their language. Common greetings include Živjo (hello), Dober dan (good day), and Dober večer (good evening). To thank someone, say Hvala (thank you), and for polite requests, use Prosim (please). If you need help, ask Kje je…? (where is…?). For numbers, Eno means one, Dva is two, and Tri is three. Phrases like Koliko stane to? (how much does this cost?) and Ali govorite angleško? (do you speak English?) are also useful. Even basic phrases can make interactions smoother and more enjoyable during your stay.
7.3 Essential Contact Information
When traveling to Slovenia, having key contact information handy is crucial. Start with emergency services: dial 112 for general emergencies, 113 for police, and 114 for the ambulance. For non-emergencies, the Slovenian Tourist Information Center can be reached at +386 1 306 45 84 or via email at info@slovenia.info. Their website, www.slovenia.info, offers extensive travel resources. Additionally, embassy contacts are vital: the U.S. Embassy is at https://si.usembassy.gov, the UK Embassy at www;gov.uk/world/slovenia, and the Canadian Embassy at www.canadainternational.gc.ca/slovenia. For mobile connectivity, consider purchasing a Slovenian SIM card from providers like Telekom Slovenije or A1 for affordable data and calls. This ensures you stay connected and can access critical information during your trip;