Nantucket: A Comprehensive Guide

Nantucket offers a unique blend of history, culture, and natural beauty, attracting visitors with its charming downtown, stunning beaches, and vibrant arts scene․
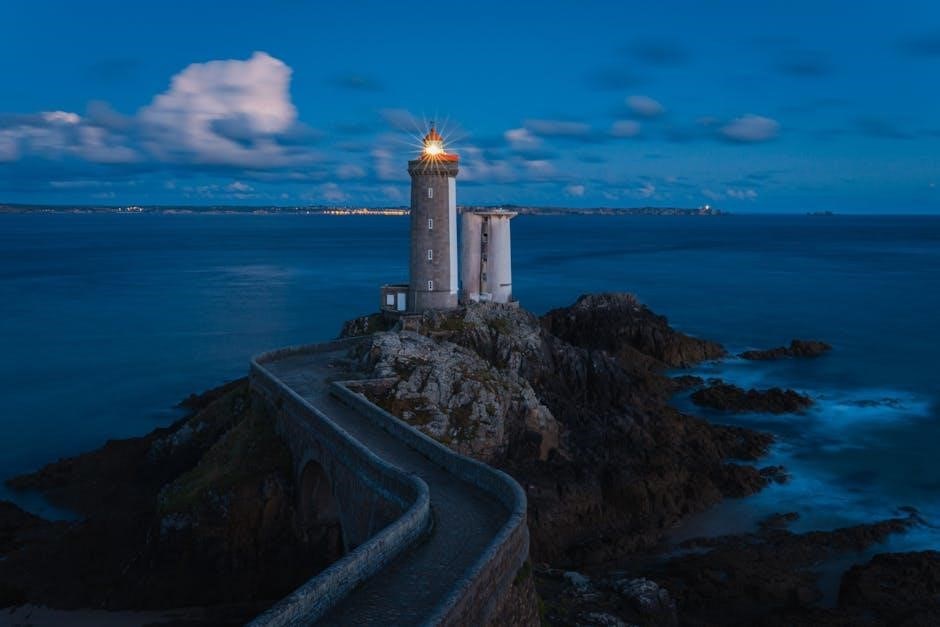
Nantucket Island, nestled 30 miles south of Cape Cod, Massachusetts, presents a captivating destination steeped in maritime history and natural splendor․ This idyllic island, only 14 miles long and 3․5 miles wide, boasts pristine beaches, cobblestone streets, and a distinctly New England charm․ Once a global whaling hub, Nantucket has gracefully transitioned into a sought-after tourist haven, offering a unique blend of relaxation and exploration․
Visitors are drawn to its well-preserved architecture, upscale boutiques, and award-winning restaurants․ The island’s cultural scene thrives with art galleries, theaters, and historical museums, particularly the renowned Nantucket Whaling Museum․ Whether seeking a tranquil beach escape or an immersive historical experience, Nantucket promises an unforgettable journey for every traveler․
History of Nantucket: From Whaling Capital to Tourist Destination
Nantucket’s history is profoundly shaped by its prominence in the whaling industry during the 18th and 19th centuries․ Its strategic location made it a crucial port for whaling voyages, amassing significant wealth and establishing a unique cultural identity․ The island’s skilled sailors and innovative techniques dominated the industry, but the decline of whale populations ultimately led to its economic downturn․
However, Nantucket demonstrated remarkable resilience, reinventing itself as a tourist destination in the 20th century․ Preserving its historic architecture and maritime heritage became central to its appeal․ Today, the island attracts visitors eager to explore its past, enjoy its natural beauty, and experience a charming New England atmosphere, a testament to its enduring spirit․
Getting to Nantucket: Transportation Options
Nantucket Island is accessible primarily via two methods: ferry services and air travel․ Several ferry lines operate from mainland Massachusetts, including Hyannis, New Bedford, and Plymouth, offering both passenger and vehicle transport․ The ferry journey provides scenic views of the Atlantic, typically lasting between 45 minutes to over two hours depending on the departure point․
Alternatively, Nantucket Memorial Airport (ACK) welcomes flights from various East Coast cities․ These flights are considerably faster, taking approximately an hour or less from major hubs․ Once on the island, local transportation options include taxis, rental cars, and a comprehensive shuttle service, allowing visitors to easily explore all Nantucket has to offer․
Ferry Services to Nantucket
Nantucket is conveniently served by multiple ferry lines offering regular service from the Massachusetts mainland․ Steamship Authority provides year-round service from Hyannis and Woods Hole, accommodating both passengers and vehicles – reservations are highly recommended, especially during peak season․ Hy-Line Cruises offers high-speed ferry options from Hyannis, focusing primarily on passenger transport for a quicker crossing․
Seastreak operates seasonal ferries from New Bedford and Plymouth, providing additional flexibility for travelers․ Ferry durations vary from approximately 45 minutes to over two hours, depending on the departure port․ These services offer a relaxing and scenic way to reach the island, with stunning ocean views throughout the journey․
Flights to Nantucket Airport (ACK)
Nantucket Memorial Airport (ACK) provides another convenient access point, served by several airlines offering seasonal flights․ Cape Air operates frequent flights from Boston’s Logan International Airport (BOS), providing a quick and efficient route for travelers․ JetBlue also offers direct flights from Boston and New York City during peak season, expanding travel options․
Smaller airlines and charter services contribute to the airport’s activity, catering to private aviation and specialized travel needs․ Flight durations are relatively short, typically under an hour from major East Coast cities․ Booking in advance is crucial, particularly during the summer months, to secure desired flight times and fares․
Accommodation in Nantucket: Finding Your Perfect Stay
Nantucket presents diverse lodging options to suit every preference and budget․ Luxury hotels and resorts, like The Wauwinet and White Elephant, offer premium amenities and exceptional service, providing an indulgent experience․ For a more intimate setting, charming bed and breakfasts dot the island, offering personalized hospitality and local insights․
Vacation rentals and cottages are plentiful, ranging from cozy studios to spacious family homes, ideal for those seeking independence and a home-away-from-home atmosphere․ Booking well in advance is highly recommended, especially during peak season, to secure your preferred accommodation and rates․

Luxury Hotels and Resorts
Nantucket’s luxury hotels and resorts redefine coastal elegance, offering unparalleled comfort and sophisticated amenities․ The Wauwinet, a Relais & Châteaux property, boasts private cottages and breathtaking harbor views, providing a secluded retreat․ White Elephant, situated in the heart of town, combines classic New England charm with modern luxury․
These establishments feature world-class dining experiences, spa services, and personalized concierge assistance․ Expect beautifully appointed rooms, impeccable service, and convenient access to the island’s attractions․ Booking well in advance is crucial, particularly during the summer months, to secure availability and preferred room types․
Charming Bed and Breakfasts
Nantucket’s bed and breakfasts offer a more intimate and personalized lodging experience, steeped in New England charm․ Properties like the Veranda House and the Jasmine House provide beautifully decorated rooms and delicious homemade breakfasts, fostering a welcoming atmosphere․ These inns often feature cozy common areas, perfect for relaxing after a day of exploring․
Expect attentive hosts eager to share local insights and recommendations․ Many are within walking distance of downtown Nantucket, offering convenient access to shops and restaurants․ Booking directly with the B&B often yields the best rates and personalized service, ensuring a memorable and authentic Nantucket stay․
Vacation Rentals and Cottages
Nantucket boasts a wide array of vacation rentals, from cozy cottages to spacious beachfront homes, ideal for families or groups․ Platforms like VRBO and Airbnb showcase numerous options, offering flexibility and privacy beyond traditional hotels․ Many rentals feature fully equipped kitchens, laundry facilities, and outdoor spaces, enhancing convenience․
Consider location carefully – options range from the bustling town center to quieter, more secluded areas․ Booking well in advance is crucial, especially during peak season․ Vacation rentals provide a ‘home away from home’ experience, allowing visitors to fully immerse themselves in the island’s relaxed lifestyle and create lasting memories․
Things to Do in Nantucket: Exploring the Island
Nantucket presents a diverse range of activities for every traveler․ Explore pristine beaches like Surfside and Jetties, perfect for sunbathing and watersports․ Wander through Historic Downtown, discovering unique shops and delectable restaurants․ Immerse yourself in the island’s maritime past at the Nantucket Whaling Museum, a captivating journey through history․
Beyond the main attractions, consider a scenic bike ride along the island’s many trails or a relaxing sailing excursion․ The White Heron Theatre offers captivating performances, enriching the cultural experience․ Nantucket truly offers a blend of relaxation, adventure, and historical discovery․
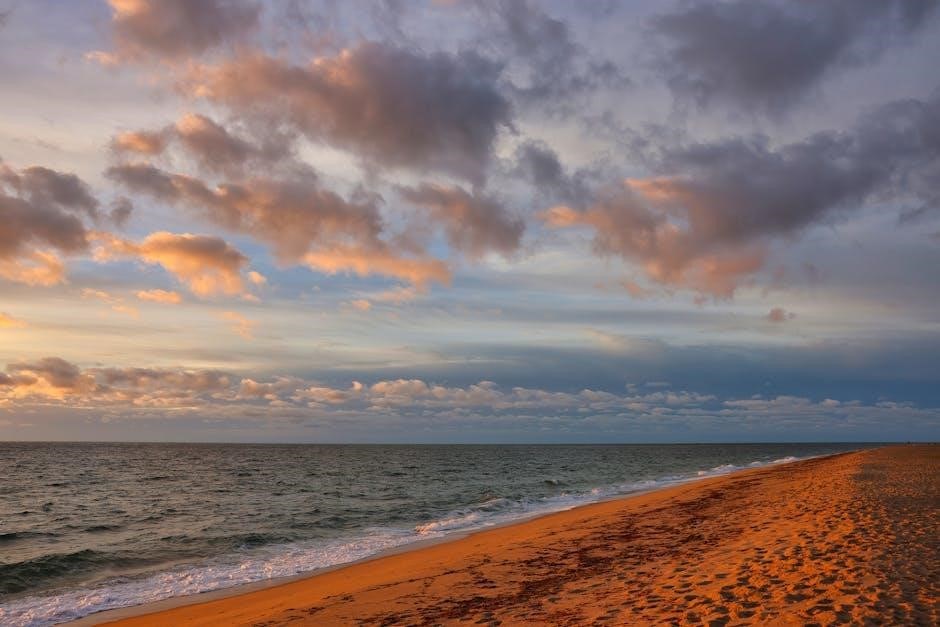
Nantucket Beaches: Sun, Sand, and Surf
Nantucket boasts an impressive collection of beaches, each offering a unique coastal experience․ Surfside Beach is renowned for its powerful waves, attracting surfers of all levels․ Jetties Beach provides calmer waters, ideal for families and swimming․ Children’s Beach offers a sheltered cove, perfect for little ones․ Cisco Beach is a popular spot for both surfing and sunbathing, with stunning sunset views․
Madaket Beach is famous for its spectacular sunsets, while Nobadeer Beach is known for its lively atmosphere․ Whether you seek adventure or relaxation, Nantucket’s beaches provide the perfect seaside escape․
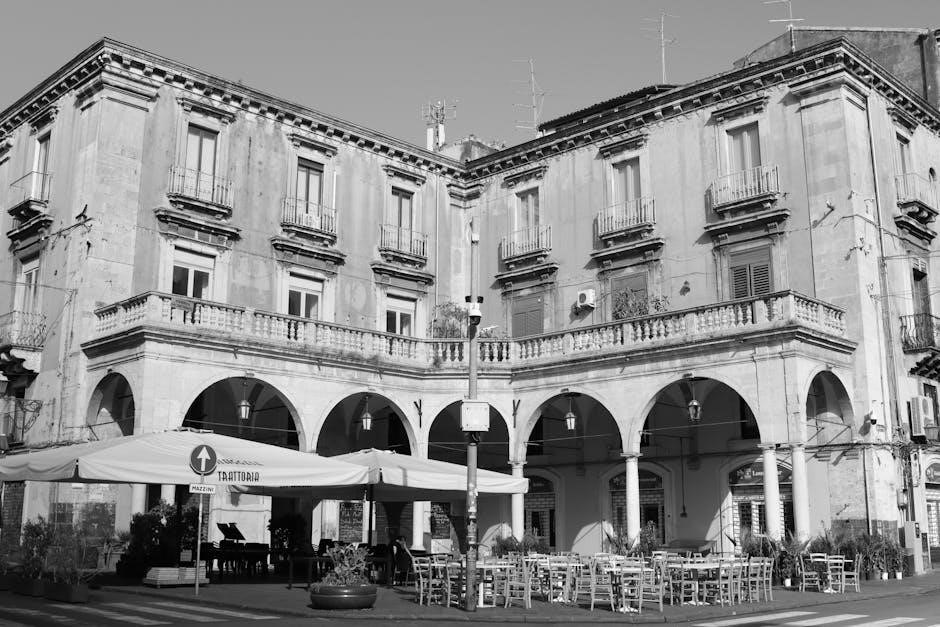
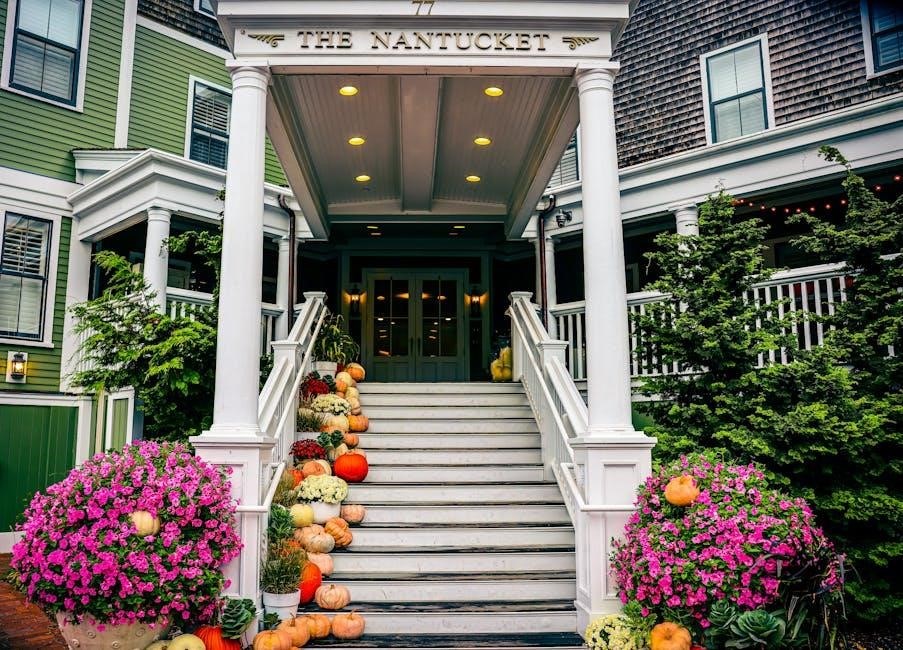
Historic Downtown Nantucket: Shops and Restaurants
Nantucket’s historic downtown is a captivating maze of cobblestone streets, lined with beautifully preserved buildings․ Explore a diverse array of boutiques, art galleries, and specialty shops offering unique treasures․ Discover nautical-themed gifts, designer clothing, and local crafts․ The dining scene is equally impressive, ranging from casual cafes to upscale restaurants․
Savor fresh seafood at waterfront eateries, indulge in international cuisine, or enjoy a classic New England clam chowder․ Don’t miss the opportunity to experience the charm and culinary delights of this vibrant downtown area, a true Nantucket highlight․
Nantucket Whaling Museum: A Deep Dive into the Past
The Nantucket Whaling Museum offers a compelling journey into the island’s rich maritime history, particularly its pivotal role in the 19th-century whaling industry․ Explore immersive exhibits featuring whale skeletons, scrimshaw artistry, and historical artifacts․ Discover the lives of the courageous whalers and the economic impact of this demanding profession․
Learn about the tools, techniques, and dangers associated with whaling, and understand its lasting legacy on Nantucket’s culture and identity․ The museum provides a profound and educational experience, shedding light on a significant chapter in American history and Nantucket’s past․
Nantucket’s Cultural Scene: Arts and Entertainment
Nantucket boasts a thriving cultural landscape, offering diverse artistic experiences for visitors․ The White Heron Theatre Company presents captivating performances throughout the year, showcasing local and visiting talent; Explore numerous art galleries featuring works by regional artists, displaying paintings, sculptures, and photography․
The Nantucket Art Association actively promotes the arts through exhibitions and workshops․ Enjoy live music venues, film screenings, and cultural events that enrich the island’s atmosphere․ From theatrical productions to visual arts, Nantucket’s cultural scene provides engaging entertainment and a vibrant creative spirit․

White Heron Theatre Company & Performing Arts
The White Heron Theatre Company is a cornerstone of Nantucket’s performing arts scene, offering a diverse season of theatrical productions․ They present a range of plays, musicals, and special events, captivating audiences with professional-quality performances․ Tickets are readily available both online and at the box office, ensuring easy access to shows․
Beyond the mainstage productions, the company actively engages with the community through educational programs and outreach initiatives․ The theatre provides a platform for local talent and attracts visiting artists, enriching Nantucket’s cultural vibrancy․ Experience the magic of live theatre at this beloved island institution․
Nantucket Art Association & Galleries
Nantucket boasts a thriving art scene, prominently showcased by the Nantucket Art Association and numerous independent galleries scattered throughout the island․ The Association itself fosters creativity through workshops, exhibitions, and community events, supporting local artists and promoting artistic expression․ Visitors can explore diverse mediums, from painting and sculpture to photography and mixed media․
Downtown Nantucket is brimming with galleries displaying works by established and emerging artists, offering a captivating journey through various styles and perspectives․ Discover unique pieces to adorn your home or simply immerse yourself in the island’s artistic spirit․ It’s a haven for art enthusiasts!
Dining in Nantucket: A Culinary Journey
Nantucket’s dining scene is a delightful exploration of fresh, local flavors, particularly renowned for its exceptional seafood․ From casual clam shacks to upscale restaurants, the island caters to every palate and budget․ Expect daily catches of the freshest fish, lobster, and shellfish prepared with creativity and care․

Beyond seafood, Nantucket offers diverse culinary experiences, including farm-to-table dining and international cuisine․ Fine dining establishments provide elegant atmospheres and innovative menus, while cozy bistros offer relaxed settings for enjoying a delicious meal․ Don’t miss the opportunity to savor the island’s culinary delights!
Seafood Restaurants: Fresh Catches of the Day
Nantucket truly shines with its abundance of seafood restaurants, offering the freshest catches daily․ From classic New England clam chowder to expertly prepared lobster rolls and grilled swordfish, the options are plentiful․ Many establishments prioritize locally sourced ingredients, ensuring a truly authentic taste of the island․
Expect waterfront dining experiences with stunning views, alongside cozy, casual spots perfect for a quick bite․ Several restaurants feature outdoor seating, allowing you to enjoy the ocean breeze while savoring your meal․ Exploring Nantucket’s seafood scene is a must for any visitor!
Fine Dining Experiences
Nantucket boasts a sophisticated culinary landscape, offering several exceptional fine dining experiences․ These restaurants elevate island cuisine with innovative menus, elegant atmospheres, and impeccable service; Expect seasonal ingredients, expertly crafted cocktails, and extensive wine lists designed to complement your meal․
Many establishments focus on farm-to-table concepts, showcasing the region’s freshest produce and seafood․ Reservations are highly recommended, especially during peak season, as these venues are popular among discerning diners․ Prepare for an unforgettable gastronomic journey that reflects Nantucket’s refined taste and charm․
Outdoor Activities in Nantucket: Beyond the Beach
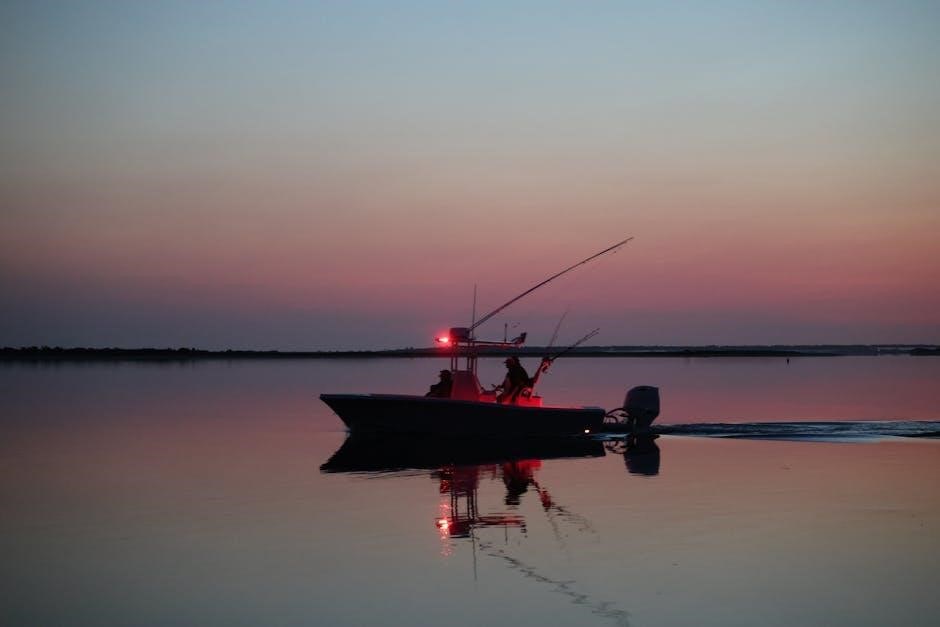
Nantucket offers diverse outdoor adventures beyond its beautiful beaches․ Explore extensive biking and hiking trails winding through conservation lands and scenic landscapes․ Discover hidden coves and breathtaking vistas perfect for nature enthusiasts․ Sailing and various water sports, including kayaking and paddleboarding, are readily available, allowing visitors to experience the island from a unique perspective․
Consider a fishing charter for a chance to reel in local catches or embark on a birdwatching tour to observe the island’s diverse avian population․ These activities provide a refreshing escape and showcase Nantucket’s natural splendor․
Biking and Hiking Trails
Nantucket boasts an extensive network of biking and hiking trails catering to all skill levels․ The island’s relatively flat terrain makes it ideal for leisurely bike rides, with numerous rental shops available․ Explore the scenic Polpis Harbor Bike Path or venture onto the challenging Sanford Farm & Ram Pasture trails․
Hikers can discover diverse ecosystems within the Nantucket Conservation Foundation’s properties․ Trails wind through woodlands, salt marshes, and along dramatic coastlines․ Remember to check trail maps and conditions before setting out, and always practice Leave No Trace principles to preserve the island’s natural beauty․
Sailing and Water Sports
Nantucket’s location in Nantucket Sound makes it a paradise for sailing and water sports enthusiasts․ Numerous charter companies offer sailing lessons, sunset cruises, and deep-sea fishing excursions․ Kayaking and paddleboarding are popular choices for exploring the calm harbors and sheltered coves․
For those seeking more adrenaline, windsurfing and kitesurfing opportunities abound, particularly along the south shore․ Surfing is also possible, though conditions are variable․ Several beaches provide rentals and instruction for various water sports․ Remember to prioritize safety and be aware of local weather conditions before heading out on the water․
Nantucket Events and Festivals: Year-Round Celebrations
Nantucket hosts a diverse array of events throughout the year, showcasing its rich culture and community spirit․ The Nantucket Film Festival attracts filmmakers and cinephiles, while the Nantucket Wine & Food Festival delights culinary enthusiasts․ Summer brings the Nantucket Regatta, a prestigious sailing competition, and numerous concerts and art shows․
Fall features Cranberry Festival, celebrating the island’s agricultural heritage․ Holiday festivities include a Christmas Stroll, transforming the town into a winter wonderland․ The White Heron Theatre Company provides year-round performances․ Checking the local events calendar is essential to experience Nantucket’s vibrant celebratory atmosphere․
Practical Information for Visitors
The best time to visit Nantucket is during the shoulder seasons – May/June or September/October – for pleasant weather and fewer crowds․ Local transportation includes the WAVE bus system, taxis, and bike rentals, offering convenient ways to explore the island․ Parking can be limited, especially in town, so consider alternative transport․
Accommodation should be booked well in advance, particularly during peak season․ Remember that Nantucket is an island, so costs for goods and services can be higher․ Staying informed about ferry schedules and potential weather delays is crucial for a smooth trip․ Pack layers, as the weather can change quickly․
Best Time to Visit Nantucket
For ideal weather and a vibrant atmosphere, June, September, and early October are excellent choices․ July and August offer the warmest temperatures, but also the largest crowds and highest prices․ Spring (May) brings blooming flowers and a quieter experience, while fall showcases beautiful foliage․
Shoulder seasons provide a balance of pleasant conditions and affordability․ Consider events like the Nantucket Film Festival or Cranberry Festival when planning your trip․ Be aware that some businesses may have limited hours outside of peak season․ Checking the forecast before you go is always recommended, as island weather can be unpredictable․
Local Transportation on Nantucket

Nantucket offers several convenient transportation options․ The WAVE, Nantucket’s public bus system, provides affordable service to most parts of the island, with frequent routes during peak season․ Taxis and ride-sharing services are readily available, though can be expensive, especially during busy times․
Biking is a popular and enjoyable way to explore, with numerous rental shops offering various styles․ Walking is also feasible for getting around downtown and nearby beaches․ Consider bringing or renting a car for greater flexibility, but parking can be limited and costly․ Shuttle services connect the airport and ferry terminals to hotels․